Kubernetes from Scratch: Part 2 - Installation and First Deployment
Learn to install Kubernetes locally with Minikube and make your first deployment. Essential kubectl commands and hands-on practice.
This article is also available in Portuguese
Série: Kubernetes from Scratch
Parte 2 de 2
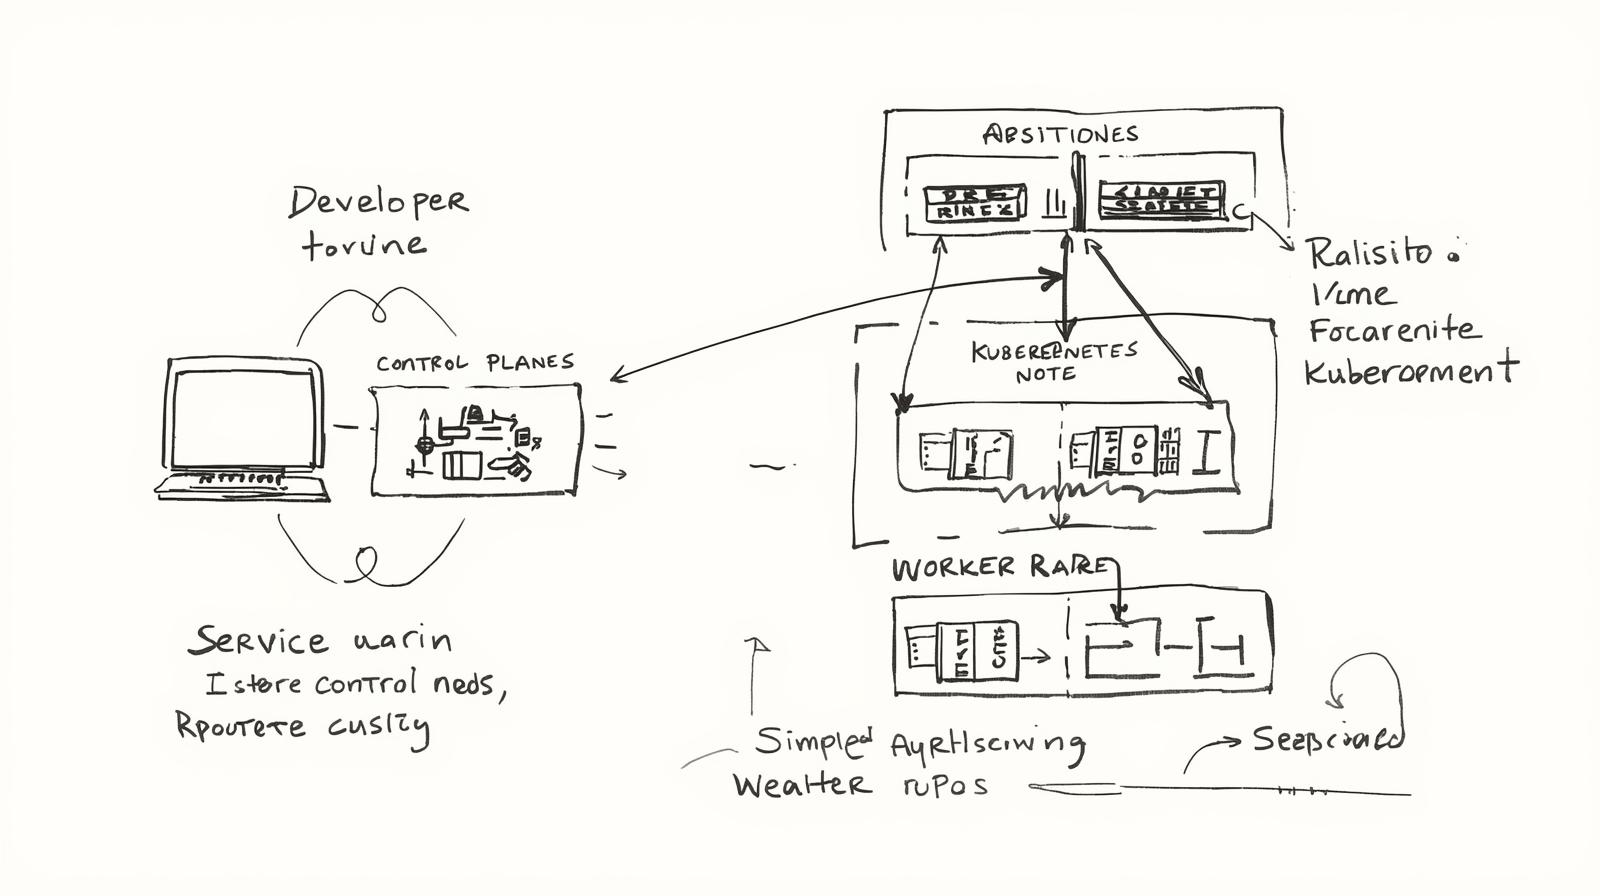
Recap from Part 1
In the previous part, we learned:
- Kubernetes architecture
- Pod, Deployment, and Service concepts
- Why Kubernetes is important
Now let’s get hands-on! 🚀
Local Installation Options
1. Minikube (Recommended for Beginners)
- Single-node Kubernetes cluster
- Perfect for development and learning
- Works on Mac, Windows, and Linux
2. Kind (Kubernetes in Docker)
- Runs Kubernetes in Docker containers
- Lighter than Minikube
- Great for CI/CD
3. Docker Desktop
- Integrated Kubernetes
- Easy to use if you already use Docker
- Available for Mac and Windows
We’ll use Minikube in this series!
Installing Minikube
macOS
# Install via Homebrew
brew install minikube

# Verify installation
minikube version
Linux
# Download binary
curl -LO https://storage.googleapis.com/minikube/releases/latest/minikube-linux-amd64

# Install
sudo install minikube-linux-amd64 /usr/local/bin/minikube

# Verify
minikube version
Windows
# Via Chocolatey
choco install minikube

# Or direct download
# https://minikube.sigs.k8s.io/docs/start/
Installing kubectl
kubectl is the CLI to interact with Kubernetes.
macOS
brew install kubectl

# Verify
kubectl version --client
Linux
curl -LO "https://dl.k8s.io/release/$(curl -L -s https://dl.k8s.io/release/stable.txt)/bin/linux/amd64/kubectl"
sudo install -o root -g root -m 0755 kubectl /usr/local/bin/kubectl

# Verify
kubectl version --client
Windows
choco install kubernetes-cli

# Or via Docker Desktop (includes kubectl)
Starting Your First Cluster
# Start Minikube
minikube start

# Check status
minikube status

# Verify cluster
kubectl cluster-info
kubectl get nodes
Expected output:
NAME       STATUS   ROLES           AGE   VERSION
minikube   Ready    control-plane   1m    v1.28.0
Essential kubectl Commands
Viewing Resources
# List all pods
kubectl get pods

# List all deployments
kubectl get deployments

# List all services
kubectl get services

# List everything
kubectl get all

# Detailed info about a resource
kubectl describe pod <pod-name>

# View logs
kubectl logs <pod-name>

# Follow logs (like tail -f)
kubectl logs -f <pod-name>
Creating Resources
# Create from YAML file
kubectl apply -f deployment.yaml

# Create from URL
kubectl apply -f https://example.com/app.yaml

# Create pod directly (not recommended for production)
kubectl run nginx --image=nginx --port=80
Updating Resources
# Update deployment image
kubectl set image deployment/my-app nginx=nginx:1.20

# Scale deployment
kubectl scale deployment/my-app --replicas=5

# Edit resource (opens in editor)
kubectl edit deployment my-app
Deleting Resources
# Delete specific resource
kubectl delete pod my-pod

# Delete from file
kubectl delete -f deployment.yaml

# Delete all pods
kubectl delete pods --all
First Deployment: Nginx Web Server
Step 1: Create Deployment File
Create nginx-deployment.yaml:
apiVersion: apps/v1
kind: Deployment
metadata:
  name: nginx-deployment
  labels:
    app: nginx
spec:
  replicas: 3
  selector:
    matchLabels:
      app: nginx
  template:
    metadata:
      labels:
        app: nginx
    spec:
      containers:
      - name: nginx
        image: nginx:latest
        ports:
        - containerPort: 80
Step 2: Apply Deployment
# Create deployment
kubectl apply -f nginx-deployment.yaml

# Check if pods are running
kubectl get pods

# Watch pods being created
kubectl get pods -w
Step 3: Create Service
Create nginx-service.yaml:
apiVersion: v1
kind: Service
metadata:
  name: nginx-service
spec:
  type: NodePort
  selector:
    app: nginx
  ports:
  - port: 80
    targetPort: 80
    nodePort: 30080
Apply the service:
kubectl apply -f nginx-service.yaml

# Get service info
kubectl get service nginx-service

# Get Minikube service URL
minikube service nginx-service --url
Step 4: Access Your Application
# Open in browser
minikube service nginx-service

# Or get URL and curl it
curl $(minikube service nginx-service --url)
You should see the Nginx welcome page! 🎉
Practical Exercise: Deploy Your Own App
Let’s deploy a simple Node.js app:
apiVersion: apps/v1
kind: Deployment
metadata:
  name: hello-app
spec:
  replicas: 2
  selector:
    matchLabels:
      app: hello
  template:
    metadata:
      labels:
        app: hello
    spec:
      containers:
      - name: hello-app
        image: gcr.io/google-samples/hello-app:1.0
        ports:
        - containerPort: 8080
---
apiVersion: v1
kind: Service
metadata:
  name: hello-service
spec:
  type: LoadBalancer
  selector:
    app: hello
  ports:
  - port: 80
    targetPort: 8080
Deploy it:
kubectl apply -f hello-app.yaml
kubectl get all
minikube service hello-service
Debugging Common Issues
Pods Not Starting
# Check pod status
kubectl get pods

# See detailed info
kubectl describe pod <pod-name>

# Check logs
kubectl logs <pod-name>

# Get into pod shell
kubectl exec -it <pod-name> -- /bin/bash
Image Pull Errors
# Check if image name is correct
kubectl describe pod <pod-name> | grep Image

# Verify image exists
docker pull nginx:latest
Service Not Accessible
# Check service endpoints
kubectl get endpoints

# Verify service selector matches pod labels
kubectl get pods --show-labels
kubectl describe service <service-name>
Useful Minikube Commands
# Stop cluster
minikube stop

# Delete cluster
minikube delete

# Access Kubernetes dashboard
minikube dashboard

# SSH into node
minikube ssh

# View addons
minikube addons list

# Enable ingress
minikube addons enable ingress
kubectl Cheat Sheet
# Context and Configuration
kubectl config view
kubectl config use-context minikube

# Quick Pod Creation
kubectl run nginx --image=nginx
kubectl run busybox --image=busybox -it --rm -- sh

# Port Forwarding
kubectl port-forward pod/nginx 8080:80

# Execute Commands
kubectl exec -it nginx -- bash

# Copy Files
kubectl cp nginx:/etc/nginx/nginx.conf ./nginx.conf

# Resource Usage
kubectl top nodes
kubectl top pods
Best Practices
1. Always Use YAML Files
# ❌ Don't
kubectl run nginx --image=nginx

# ✅ Do
kubectl apply -f nginx-deployment.yaml
2. Use Namespaces
# Create namespace
kubectl create namespace dev

# Deploy to namespace
kubectl apply -f app.yaml -n dev

# Set default namespace
kubectl config set-context --current --namespace=dev
3. Label Everything
metadata:
  labels:
    app: my-app
    environment: production
    version: v1.0.0
4. Use Resource Limits
resources:
  requests:
    memory: "64Mi"
    cpu: "250m"
  limits:
    memory: "128Mi"
    cpu: "500m"
What’s Next?
In Part 3, we’ll explore:
- ConfigMaps and Secrets
- Persistent Volumes
- Ingress Controllers
- Helm Package Manager
Conclusion
You now have a working Kubernetes cluster and deployed your first applications! Key takeaways:
- ✅ Minikube for local development
- ✅ kubectl for cluster management
- ✅ Deployments for running apps
- ✅ Services for networking
- ✅ Debugging techniques
Practice these commands and experiment with different configurations. Hands-on experience is the best way to learn Kubernetes!
Ready for Part 3! 🚀